
If this is your first experience with CMS Hub development we recommend:
![]()
- Log in to your HubSpot account, then navigate to the design manager by navigating to Marketing > Files and Templates > Design Tools.
- In the left sidebar of the design manager, open the theme folder that you just uploaded.
- In the theme folder, open the modules folder.
- In the upper left, click File > New file to create a new module in this folder.
- In the dialog box, click the dropdown menu, then select Module, then click Next.
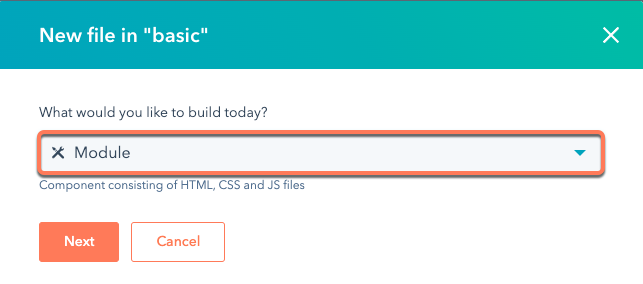
- Select the Pages checkbox to make the module available for website and landing pages.
- Name the module Testimonial, then click Create.
Next, you'll add three fields to the module:
- A text field to store the name of the customer giving the testimonial.
- An image field that will store the customer's profile picture.
- A rich text field that will store the customer's testimonial.
Add the text field for customer name
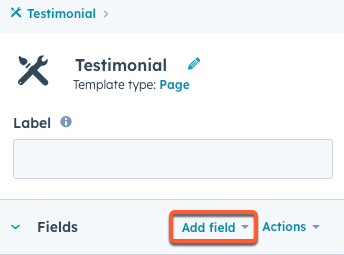
- In the right sidebar of the module editor, click the Add field dropdown menu, then select Text.
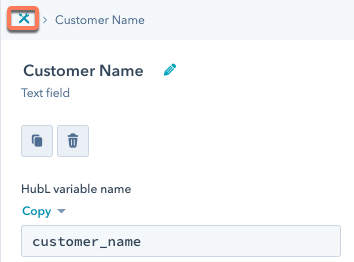
- In the right sidebar, click the pencil icon in the upper right to name the field. For this tutorial, enter the Customer Name. You'll then see the HubL variable name change to customer_name.
- Set the Default text to Sally.

- In the right sidebar, click the breadcrumb icon to return to the main module menu.
Add the image field for customer profile picture
- Add another field using the same method, this time selecting the Image field type.
- Label the image field Profile Picture, then set the HubL variable name to profile_pic.
- Under Default image, select the profile picture provided for Sally in the images folder of the completed project files.
- Set the Alt text to Sally Profile Picture.


So far, you've added data into several module fields. At this point, though, the module doesn't contain any HTML to render that data. In the module editor, this is reflected by the empty state of the module.html section. 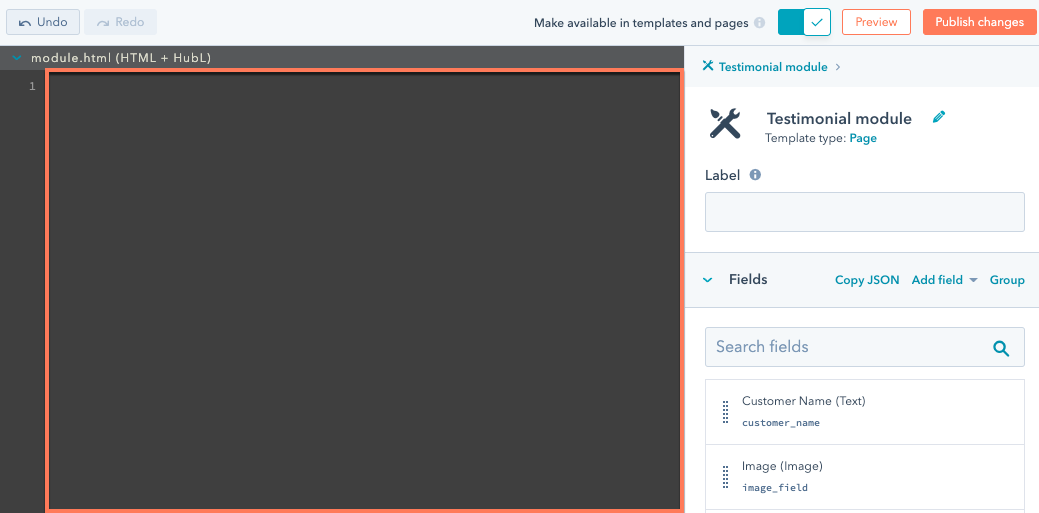
Next, you'll add HubL to module.html to display the field data.
The above HubL tokens use dot notation to access data from each field. In this case, because we want to pull data from module fields, each token begins with module, followed by the field's HubL variable name. You can use dot notation to further access specific properties of a field, which you can see in the profile_pic tokens on line 3 above.
- With the HubL added to your module, click Preview in the upper right to see what the module looks like so far.

- Then, in the upper right, click Publish changes.
Having created and published the module in HubSpot, you'll now use the CLI to pull the module down into your local environment so that you can view its contents and make further changes.
To view the module locally, you'll first need to pull it down to your local theme:
- In the terminal, run the following command:
hs fetch <hs_src> <destination>:<hs_src>represents the module's filepath in HubSpot. To get the filepath, you can right-click the module in the left sidebar of the design manager, then select Copy path.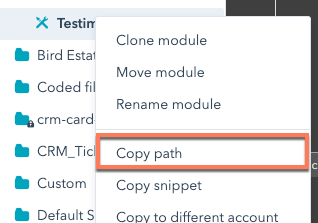
<destination>represents the path to the local directory where your theme lives. If omitted, the command will default to the current working directory.
For example, if you're in the working directory already, your fetch command may look similar to the following:

For this part of the tutorial, you'll be working mostly within the modules and templates folders within your local theme files. 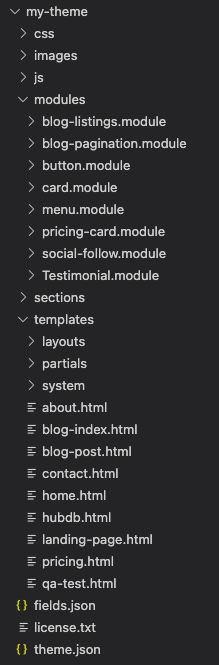
By their most basic definition, modules are editable areas of HubSpot templates and pages. You can insert modules into templates in HubSpot by using the design manager, but here you'll be using HubL to add the module to the template in your local environment.
- In your code editor, open the
templatesfolder, then open thehome.htmlfile. - In the
home.htmlfile, navigate to the finaldnd_section, which starts around line 28. You'll be adding your new module to this section.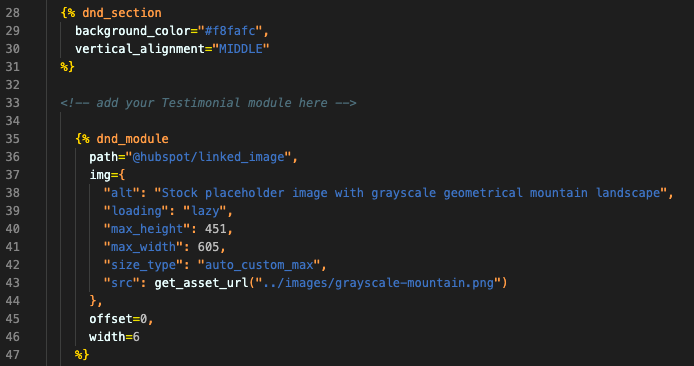
- Within this
dnd_sectionand above the otherdnd_modules, copy and paste the following HubL module tag:


